Your sourdough starter doesn't care about your thermostat preferences. When your kitchen drops below 65°F in winter or climbs above 85°F in summer, fermentation speed shifts dramatically, throwing off feeding schedules and potentially weakening your culture.
Why Temperature Control Makes or Breaks Your Starter
Sourdough starters perform best between 68-78°F, where wild yeast and bacteria maintain their delicate balance. Below 60°F, fermentation crawls to near-stillness. Above 85°F, bacteria can overtake yeast, creating overly sour flavors and weakened gluten development. King Arthur Baking's fermentation guide confirms that temperature fluctuations beyond this range require feeding adjustments or environment modifications.
The microorganisms in your starter — primarily wild yeast and lactobacilli bacteria — each respond differently to temperature changes. Wild yeast thrives around 75-80°F and slows significantly below 65°F. Lactobacilli bacteria remain more active at lower temperatures, which explains why cold starters often develop pronounced sourness without corresponding rise activity.
Winter Storage: Keeping Your Starter Active in Cold Kitchens
Winter poses the greater challenge for most home bakers. Heating systems create temperature swings, and many kitchens drop into the 50s overnight. Your starter won't die at these temperatures, but it will enter near-dormancy, requiring schedule adjustments.
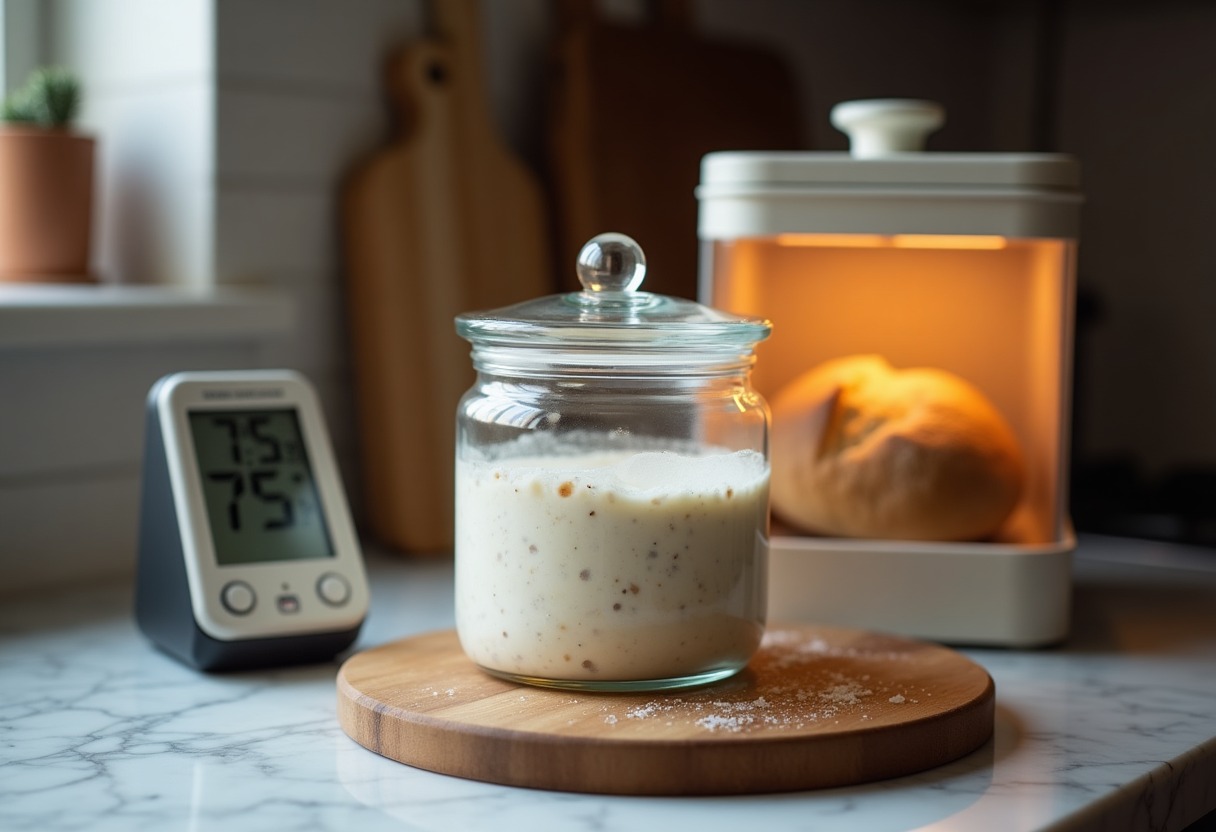
Move your starter to consistently warmer spots during cold months. The top of your refrigerator often runs 5-8 degrees warmer than counter level. Near (not on) a heating register works if temperatures stay below 80°F. Inside your oven with just the light on typically maintains 75-80°F — perfect starter territory.
For active maintenance in winter, extend feeding intervals when your kitchen drops below 65°F. A starter that doubles in 4 hours at 75°F might take 12-16 hours at 60°F. Feed every 24-36 hours instead of twice daily, watching for peak activity rather than following rigid timing.
The refrigerator becomes your ally for winter storage. Weekly feedings work reliably for refrigerated starters, regardless of kitchen temperatures. Pull your starter out, let it warm for 2-3 hours, feed, wait for signs of activity (bubbles, slight rise), then refrigerate again. This approach eliminates temperature guesswork entirely.
Summer Care: Preventing Overheated Fermentation
Summer heat accelerates everything, often pushing starters past their peak while you sleep. At 85°F+, your starter might triple in size within 3-4 hours, then collapse before you check it. Overfermentation weakens the culture and creates off-flavors.
Air conditioning provides the most reliable solution, but placement matters even in cooled homes. Avoid sunny windowsills, heat-generating appliances, and upper cabinet shelves where heat accumulates. Lower cabinets, basement rooms, and pantries typically run 3-5 degrees cooler than kitchen counters.
Adjust feeding ratios for hot weather. Increase flour and water proportions relative to starter to slow fermentation. Instead of equal parts (1:1:1), try 1:2:2 or even 1:3:3 ratios. More fresh flour dilutes the microbial activity, buying you more time between feedings.
Consider refrigerated storage during heat waves. Even daily refrigerated care beats battling 90°F kitchen temperatures. Your starter will maintain better balance and recover more quickly when temperatures moderate.
Temperature Control Equipment Comparison
| Solution | Temperature Range | Cost | Best For | Limitations | |----------|------------------|------|----------|-------------| | Proofing Box | 70-120°F | $150-400 | Year-round consistency | Size limits, countertop space | | Seedling Heat Mat | 68-85°F | $15-40 | Winter warming only | No cooling, uneven heating | | Fermentation Chamber | 32-99°F | $300-800 | Professional control | High cost, large footprint | | Oven Light Method | 75-85°F | Free | Budget winter solution | Temperature varies, ties up oven |
Professional-Grade Temperature Solutions
Dedicated proofing boxes eliminate guesswork entirely. → Shop bread proofing boxes on Amazon The Brod & Taylor Folding Proofer maintains precise temperatures from 70-120°F and folds flat for storage. At $185, it's the gold standard for serious bakers who want consistent results regardless of season.
Seedling heat mats offer budget-friendly winter warming. → Shop seedling heat mats on Amazon These mats raise jar temperatures 10-15 degrees above ambient, perfect for cold kitchens. Place a towel between mat and jar to prevent overheating, and use a digital thermometer to monitor actual temperatures.
For comprehensive climate control, fermentation chambers provide both heating and cooling. → Shop fermentation chambers on Amazon These units cost more but handle extreme conditions in both directions, maintaining steady temperatures year-round.
Temperature controllers paired with heating elements create custom solutions. → Shop temperature controllers on Amazon Connect a controller to a heat mat or small heater, set your target temperature, and let the unit cycle on and off automatically.
Accurate monitoring requires proper thermometers. → Shop digital thermometers on Amazon Probe-style digital thermometers track actual starter temperature, not just ambient air. Look for models with alarm functions that alert you to temperature swings.
Advanced Temperature Management Techniques
Create microclimates using thermal mass. A large pot of warm water (80-85°F) maintains steady temperatures for hours. Place your starter jar next to the pot, cover both with a large bowl or box, and you've built a simple warming chamber. Refresh the water when temperatures drop.
Insulation extends heating effectiveness. Wrap heat mats or jars in towels to retain warmth and create more even temperature distribution. Styrofoam coolers work excellently as insulated chambers — add a small heat source and monitor with a thermometer.
The thermal flywheel technique uses your oven's residual heat after cooking. Turn the oven off after use, wait 15 minutes for temperatures to moderate, then place your starter inside with the door cracked. This provides 2-3 hours of gentle warmth without active heating.
Monitor temperature patterns in your kitchen using a min/max thermometer. Track daily highs and lows for a week to identify the most stable locations. Many bakers discover that hallway closets or unused bathrooms maintain steadier temperatures than kitchen counters.
For consistent results, check out our Bread Proofing Box Guide for detailed equipment comparisons, or browse our Sourdough Starter Complete Guide for comprehensive starter management.
Frequently Asked Questions
What happens to my sourdough starter if it gets too cold?
Cold temperatures slow fermentation dramatically rather than killing your starter. Below 60°F, wild yeast activity nearly stops while bacteria remain somewhat active, creating sourness without rise. Your starter can survive extended cold periods and will recover when warmed, though it may take several feedings to restore full vigor. Store cold starters in the refrigerator rather than struggling with inconsistent cool temperatures, and maintain weekly feeding schedules.
Can summer heat kill my sourdough starter permanently?
Temperatures above 90°F stress your starter severely and can kill weaker cultures, but most established starters survive brief heat exposure. Sustained temperatures over 95°F will likely damage or kill the culture. If your starter shows no activity after cooling and feeding, save a small portion and build a new culture from scratch — sometimes damaged starters recover slowly over multiple feedings.
How do I adjust feeding schedules for temperature changes?
Monitor your starter's peak activity time rather than following fixed schedules. At 65°F, doubling might take 12-16 hours instead of 4-6 hours at 75°F. Feed when your starter reaches peak rise and just begins to fall. In hot weather (80°F+), your starter might peak in 3-4 hours, requiring more frequent feedings or adjusted ratios to slow fermentation.
Is a proofing box worth the investment for starter maintenance?
Proofing boxes eliminate temperature guesswork and provide consistent results year-round, making them valuable for serious bakers who want reliability over convenience. They're particularly worthwhile if your kitchen temperatures fluctuate significantly or if you maintain multiple starters. However, many successful bakers manage starters effectively using simpler methods like oven lights, heat mats, or refrigerated storage.
What's the ideal temperature range for maintaining sourdough starter long-term?
Maintain your starter between 68-78°F for optimal balance between yeast and bacterial activity. This range provides predictable fermentation timing, healthy rise, and balanced flavor development. Below 65°F requires schedule adjustments, while above 80°F accelerates fermentation beyond most feeding schedules. Consistency matters more than hitting exact temperatures — steady 70°F beats fluctuating between 75-80°F.
Temperature control transforms unpredictable starter maintenance into reliable routine, giving you the consistent results that make sourdough baking truly rewarding.
Some links on this page are affiliate links. We may earn a small commission if you purchase through them, at no extra cost to you.
As an Amazon Associate we earn from qualifying purchases. This article contains affiliate links; if you buy through them we may earn a small commission at no additional cost to you.