Your sourdough collapsed during final proof because the shaping sequence failed to create adequate surface tension. Most home bakers treat shaping as one step when it's actually three distinct phases that determine whether your loaf holds its structure or spreads into a pancake.
Why Proper Shaping Sequence Creates Better Bread
The shaping process builds a gluten network that supports the dough structure throughout final fermentation and baking. King Arthur Baking demonstrates that proper surface tension development prevents the dough from spreading during proofing and creates the foundation for dramatic oven spring.
Each phase serves a specific purpose: pre-shaping organizes the gluten strands and creates initial tension, bench rest allows gluten relaxation for final shaping, and final shaping builds maximum surface tension while forming the desired loaf shape. Skip any phase or rush the timing, and you compromise the structural integrity of your finished bread.
The process works because gluten molecules align and strengthen when stretched under controlled tension. This alignment creates a membrane that traps gas produced during fermentation, maintaining the loaf's shape as it rises and bakes.
Pre-Shaping: Building Your Foundation
Pre-shaping transforms your bulk-fermented dough into a cohesive round that prepares it for final shaping. This step requires a light touch and specific technique to avoid degassing while building initial surface tension.
Start by turning your dough onto a lightly floured work surface. Divide it using a → Shop bench scrapers on Amazon if making multiple loaves. For single loaves, work with the entire mass.
Use the envelope fold method: fold the top third down toward the center, then fold the bottom third up and over. Rotate the dough 90 degrees and repeat. This creates four folds total. The dough should feel tighter and hold its shape better after each fold.
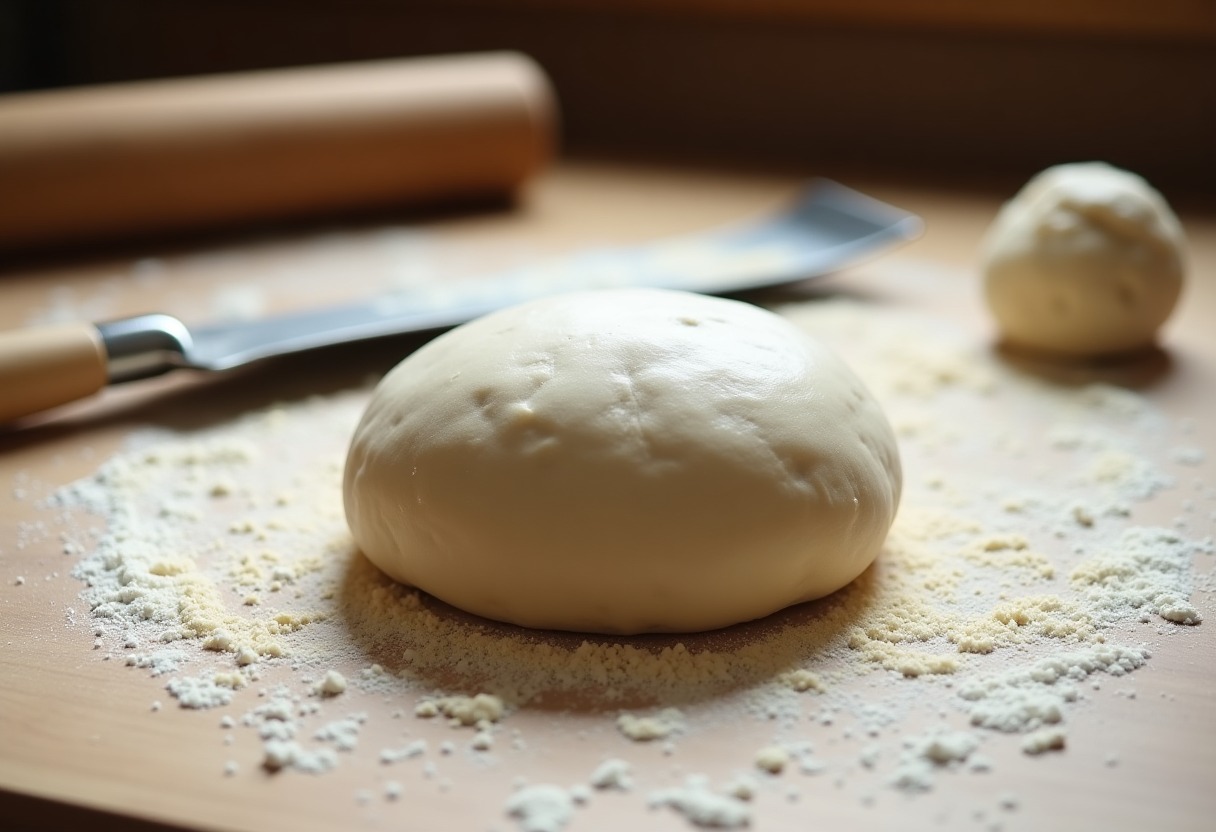
Cup your hands around the dough and use small circular motions to create surface tension. Keep your hands in contact with the work surface and pull the dough toward you in quarter-turns. The bottom of the dough will stick slightly to the surface, creating the tension you need. Stop when the dough forms a neat round that holds its shape.
For higher hydration doughs (75% and above), use wet hands to prevent sticking. Lower hydration doughs work better with dry hands and minimal flour.
Understanding Bench Rest Timing and Technique
The bench rest is the most overlooked phase in sourdough shaping. This 20-30 minute period allows the gluten network to relax after pre-shaping stress, making the dough pliable enough for final shaping without tearing.
During bench rest, cover your pre-shaped rounds with a damp kitchen towel or plastic wrap to prevent surface drying. The ideal bench rest occurs at room temperature (68-72°F). Cooler temperatures require longer rest periods, while warmer conditions can over-relax the dough.
Monitor your dough's readiness using the poke test: gently press the surface with a floured finger. If the indentation springs back slowly but doesn't completely fill in, your dough is ready for final shaping. If it springs back immediately, continue resting. If it doesn't spring back at all, you've over-proofed and should reshape immediately.
| Dough Hydration | Bench Rest Time | Key Indicators | Common Mistakes | |---------------------|--------------------|--------------------|---------------------| | 65-70% | 15-20 minutes | Slight relaxation, holds round shape | Rushing to final shape | | 71-80% | 20-25 minutes | Gentle spread, pliable when touched | Over-flouring work surface | | 81%+ | 25-30 minutes | Noticeable spread, jiggles when moved | Inadequate covering | | Cold dough | +10 minutes | Slow spring-back on poke test | Not adjusting for temperature |
High hydration doughs spread more during bench rest but should still maintain general round shape. If your dough spreads significantly or feels slack, your Sourdough Bulk Fermentation Complete Guide timing may need adjustment.
Final Shaping for Maximum Structure
Final shaping builds the strongest possible surface tension while forming your desired loaf shape. This step requires confidence and decisive movements to avoid overworking the dough.
For boules, start by flipping your rested round seam-side up. Fold the top edge down to just past center, then fold the right and left sides to center, overlapping slightly. Roll the dough away from you, using the heel of your palm to seal the seam. Flip seam-side down and cup your hands around the dough, pulling it toward you in quarter-turns to tighten the surface.
Batard shaping follows a similar pattern but creates an oval instead of round. After the initial folds, roll the dough into a log shape before the final tightening phase. The seam should run along the entire bottom length of the loaf.
For country-style loaves, the letter-fold technique works well: fold the dough like a business letter (bottom third up, top third down), then roll into a tight cylinder. This method creates distinct layers that contribute to an open crumb structure.
Use → Shop dough bowls on Amazon for bulk fermentation, then move to a clean work surface for shaping. The surface should have just enough flour to prevent sticking without making the dough slide around.
Proper final shaping feels like building controlled tension. The dough should resist your movements slightly but not tear. If tears appear, you've either over-proofed during bulk fermentation or you're applying too much force.
Essential Tools for Professional Shaping Results
Quality tools make shaping significantly easier and more consistent. A good bench scraper acts as an extension of your hands, helping manipulate dough without adding flour or causing tears. Metal scrapers work best for cutting and portioning, while plastic versions excel at gentle dough handling.
→ Shop linen couche on Amazon for supporting shaped loaves during final proof. Linen naturally wicks moisture while providing structure, especially beneficial for batards and baguettes. For home bakers, our Best Bannetons Proofing Baskets guide covers the best options for round and oval loaves.
→ Shop bread lame on Amazon becomes essential once you've mastered shaping. Proper scoring requires well-shaped loaves with good surface tension to achieve clean cuts and dramatic ear formation. Check our How To Score Sourdough guide for detailed scoring techniques.
Clean → Shop kitchen linen towels on Amazon prevent dough from sticking during bench rest and final proof. Linen works better than cotton because it doesn't leave fibers on the dough surface and has superior moisture-wicking properties.
Digital scales remain crucial throughout the shaping process. Divide dough by weight rather than eyeballing portions to ensure even baking. Our Best Kitchen Scales Baking recommendations include models accurate to 1-gram increments.
Advanced Shaping Techniques Most Guides Miss
Temperature management during shaping affects dough behavior more than most bakers realize. Cold dough from overnight retardation requires 30-60 minutes at room temperature before shaping to prevent tearing. Conversely, overly warm dough becomes sticky and difficult to shape cleanly.
Use the windowpane test before shaping to verify gluten development. Stretch a small piece of dough between your fingers—it should form a thin, translucent membrane without tearing. Inadequate gluten development makes proper surface tension impossible regardless of shaping technique.
Create a shaping station that minimizes dough handling. Arrange your tools, proofing baskets, and towels within arm's reach before starting. Each time you move or flip the dough unnecessarily, you risk deflating gas bubbles that contribute to oven spring.
For consistent results, practice the "tension vs. pressure" balance. Surface tension comes from pulling and stretching the outer membrane, not pressing down on the dough. Think of the technique as wrapping the dough in an invisible tight skin rather than compressing it into shape.
Master bakers often perform a quick "bounce test" after final shaping. Gently tap the shaped loaf—it should spring back slightly and feel taut. Slack dough requires reshaping, while overly tight dough may tear during proofing.
FAQ
How long should I wait between bulk fermentation and pre-shaping? Start pre-shaping immediately after bulk fermentation completes, typically when your dough has increased 70-80% in size and passes the poke test. Waiting longer risks over-proofing, which makes shaping difficult and reduces oven spring. If you need to delay shaping, refrigerate the dough to slow fermentation, then bring to room temperature before proceeding. Cold dough requires gentler handling and longer bench rest times.
What's the difference between surface tension and overworking the dough? Surface tension involves stretching the outer gluten membrane to create a tight skin, while overworking breaks down the gluten structure through excessive manipulation. Proper tension feels like the dough is "fighting back" slightly against your movements but doesn't tear. Overworked dough becomes slack, sticky, and tears easily. The key is decisive, confident movements rather than multiple corrections or excessive handling.
Why does my high-hydration dough spread during bench rest despite proper pre-shaping? High-hydration doughs (80%+) naturally spread more due to increased water content affecting gluten structure. This spreading is normal as long as the dough maintains general round shape and doesn't flatten completely. Ensure your bulk fermentation isn't excessive—over-proofed dough loses structural integrity regardless of shaping technique. Consider reducing hydration by 5-10% until your shaping skills improve.
Can I reshape sourdough if the final shaping doesn't look right? Yes, but only once, and preferably within 30 minutes of the initial shaping attempt. Gentle reshaping won't significantly harm the dough structure, but multiple attempts will degas the loaf and reduce oven spring. If reshaping is necessary, allow an extra 15-20 minutes of bench rest before the second attempt. After reshaping, proceed directly to final proofing without additional bench rest.
How do I know if my shaped loaf is ready for the refrigerator or final proof? The shaped loaf should hold its form without significant spreading and feel slightly firm to gentle touch. The surface should appear smooth and taut, without visible tears or slack areas. For overnight retardation, place the shaped loaf in the refrigerator within 30 minutes of final shaping. For same-day baking, begin final proof immediately, monitoring for 50-70% size increase before baking.
Master these sourdough shaping techniques with patience and practice, and you'll never again wonder why some loaves hold their structure while others collapse.
Some links on this page are affiliate links. We may earn a small commission if you purchase through them, at no extra cost to you.
As an Amazon Associate we earn from qualifying purchases. This article contains affiliate links; if you buy through them we may earn a small commission at no additional cost to you.