
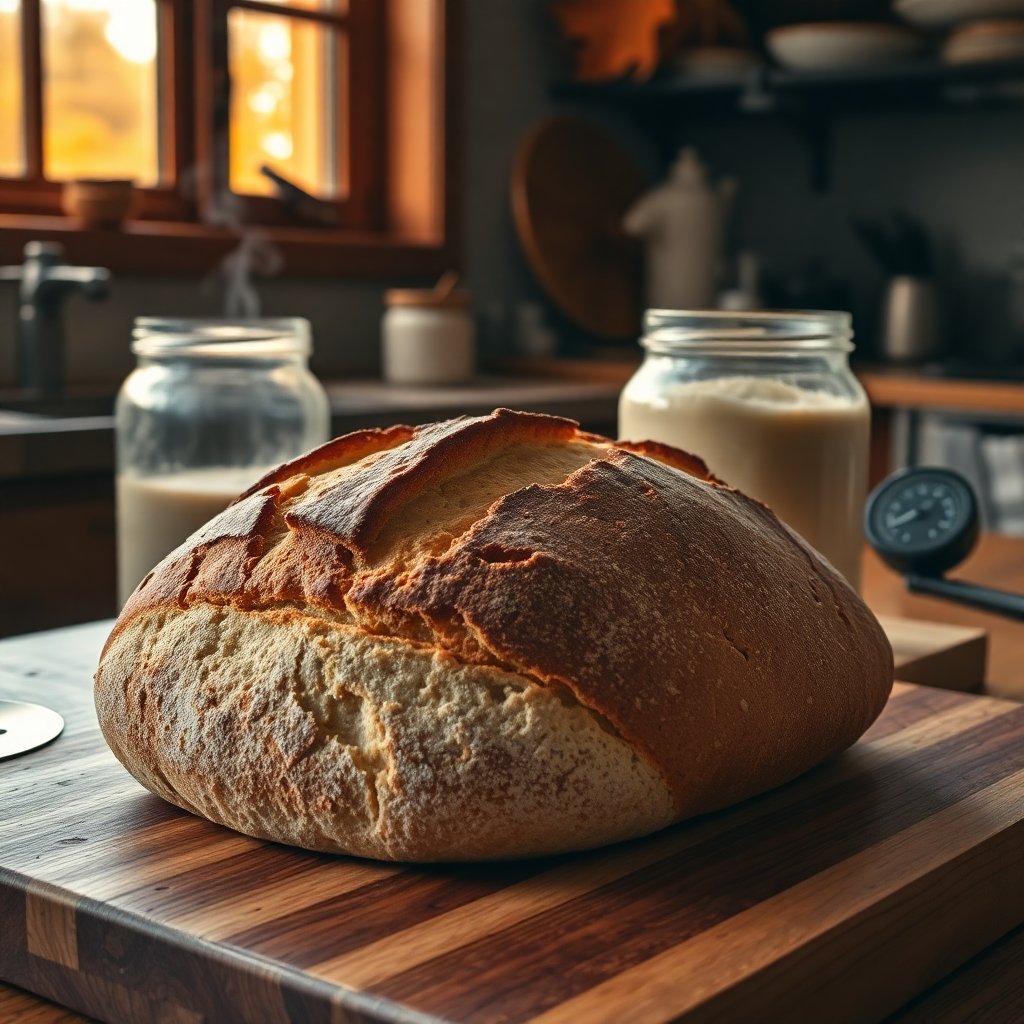
Every fall the same message floods sourdough forums: my starter went quiet, my dough won't rise, and I didn't change a thing. Nothing is broken. Your kitchen simply got colder, and cold is the single biggest reason a reliable summer routine falls apart the moment the weather turns. A dough that tripled overnight in an 78°F August kitchen can sit stubbornly flat in a 65°F October one, because the wild yeast and bacteria that do all the work slow down dramatically as the temperature drops.
The good news is that this is one of the most fixable problems in all of bread baking. Once you understand that sourdough runs on temperature the way an engine runs on fuel, the fall slump becomes a set of small adjustments rather than a mystery. This guide walks through the numbers that matter, the cheap and not-so-cheap ways to add warmth, and how to keep a sluggish starter alive when the counter turns chilly.
As an Amazon Associate we earn from qualifying purchases. The gear below is what I'd actually reach for in a cold kitchen — the links are here for convenience.
Why Cold Weather Wrecks Your Timing
Sourdough is a living system, and like most living systems it has a preferred temperature band. Both the yeast (which makes gas and lift) and the lactic acid bacteria (which make flavor and acidity) are most active in roughly the 75–82°F range. Push the dough much below that and everything decelerates: bulk fermentation stretches out, the rise gets timid, and if you follow your old summer schedule you'll pull an underproofed loaf that bakes up dense and gummy.
The relationship isn't linear, either. As a rough rule of thumb bakers pass around, fermentation activity roughly halves for every 15–17°F you drop. That's why a 10-degree change in kitchen temperature — completely normal between summer and fall — can double your bulk time or more. According to The Perfect Loaf, dough temperature is the lever that quietly controls almost everything about how a bake turns out, from timing to final flavor.
The trap is that most recipes were written and tested at one temperature and never mention it. So when your kitchen cools, the recipe's "4 hours" becomes a lie, and the fix is to stop watching the clock and start watching the dough — and its temperature.
Step One: Actually Measure Your Dough Temperature
You can't manage what you don't measure, and dough temperature is worth measuring because it's what the microbes actually respond to — not the air, not the water, but the dough itself. The tool for this is an instant-read thermometer, and if you don't own one, it's the highest-impact few dollars you can spend in sourdough.
→ Shop instant-read kitchen thermometers on Amazon
Take a reading right after mixing, then again at the end of bulk. Most home bakers do well aiming for a finished dough temperature of about 75–78°F. Once you know where your dough actually lands, you can start steering it toward that target instead of guessing.
The most reliable way to hit a number is the desired dough temperature (DDT) formula, which sounds fussy but is genuinely useful in cold months. The idea: your dough's final temperature is an average of the ingredients and the friction of mixing, so you adjust the one variable you fully control — water temperature — to compensate for a cold room and cold flour.
For a simple hand-mixed sourdough, the working version is: multiply your desired dough temperature by three, then subtract room temperature, flour temperature, and a friction factor. King Arthur's own testing, in their guide to determining the friction factor, found that a stand mixer can add 20°F or more while hand mixing adds only a handful of degrees — so if you knead by hand, your friction factor is small. In a cold kitchen this math almost always tells you to use warmer water than you'd expect, sometimes noticeably warm to the touch. That single change often rescues a fall bake before you do anything else.
Step Two: Build a Warm Spot to Proof
Warmer water gets your dough started at the right temperature, but a 65°F kitchen will steadily pull it back down over a multi-hour bulk. So the second job is keeping the dough warm while it ferments. You have options at every budget.
The free and near-free tricks. The classic move is the oven with the light on — the bulb often nudges an enclosed oven up to the low 70s or warmer. Test yours with that thermometer first, because some LED bulbs throw off almost no heat and some ovens run hotter than you'd guess. Other reliable warm spots: on top of the refrigerator, near (not on) a radiator, or inside a cooler or microwave alongside a mug of just-boiled water, refreshed as it cools.
A dedicated proofing box. If you bake weekly through the winter, a folding electric proofing box that holds a set temperature is the single biggest quality-of-life upgrade. You set it to your target, slide the dough in, and stop babysitting the oven light.
→ Shop folding bread proofing boxes on Amazon
A seedling heat mat. The frugal favorite among cold-climate bakers is a garden seedling heat mat — the same low-wattage mat used to start tomatoes. Set your bowl or starter jar on one (ideally with a cheap thermostat controller so it doesn't overshoot) and you get gentle, steady bottom heat for a fraction of a proofing box's cost.
→ Shop seedling heat mats with thermostat on Amazon
Whatever you choose, keep it gentle. The goal is the mid-70s, not a sauna. Anything much above the low 80s starts to favor the bacteria over the yeast, which can leave you with a fast, sour, weak-structured dough — the opposite problem, and one that's easy to create if you get overenthusiastic with a heat mat.
Step Three: Keep the Starter Itself Alive and Active
A cold kitchen doesn't just slow your dough — it slows the starter you're building that dough from. A culture that peaked in four hours all summer might take eight or more in the fall, and if you feed it on the old schedule you'll be baking with a hungry, under-risen starter that never brings its A-game.
Two adjustments fix most of it. First, warm the starter the same way you warm the dough — a proofing box or heat mat keeps it lively between feeds. Second, in cold weather many bakers quietly shift to a stiffer starter or a warmer feed water, both of which help maintain momentum. If your starter has genuinely gone sluggish and watery, our walkthrough on feeding ratios covers how to rebuild strength with a higher flour-to-culture ratio, which is exactly the move a cold-slowed starter often needs.
Timing your bake around the starter's peak matters more in winter, because that window arrives later and can be easy to miss. If you're not confident reading it, our guide on how to tell when your starter is ready walks through the float test, the dome, and the smell — all of which shift subtly when things are cold.
The Cold-Kitchen Advantage Nobody Mentions
Here's the reframe: a cool kitchen isn't only a problem to solve. Slower fermentation develops more complex, tangier flavor because the bacteria have more time to work, and a slower dough is far more forgiving of scheduling — you're less likely to blow past the peak while you're at work or asleep. Many experienced bakers deliberately lean into cold, long ferments precisely for that flavor payoff.
The most useful tool for turning cold into an advantage is your refrigerator. A long, cold overnight retard in the fridge is the same principle taken to its extreme, and it's how a lot of us fit weekday baking around real life. If you haven't tried it, our cold fermentation guide walks through retarding shaped loaves overnight for both flavor and convenience — a technique that pairs perfectly with a warm bulk followed by a cold proof.
A Simple Cold-Weather Baking Plan
Put together, here's a routine that holds up as the kitchen cools:
- Feed on a longer clock. Expect your starter to peak later; feed the night before or early morning and wait for the real dome, not the summer timeline.
- Warm your water. Use the DDT math (or just err warmer) so your dough starts at 75–78°F instead of drifting up from a chilly 62°F.
- Proof somewhere warm. Oven light, proofing box, or heat mat — pick one and keep it in the mid-70s. Verify with a thermometer once, then trust it.
- Watch the dough, not the clock. Look for the volume increase, the jiggle, and the bubbles. Bulk may run 50–100% longer than your summer recipe claims. That's normal.
- Lean into the cold when it helps. A fridge retard turns slow fermentation into better flavor and a schedule that fits your life.
None of this requires expensive gear — a thermometer and an oven light will carry most bakers through the entire winter. The proofing box and heat mat are upgrades for people who bake often enough to want their timing back. Start with measurement, adjust your water, and give the dough the extra time it's quietly asking for.
Cold weather doesn't end your sourdough season. It just changes the tempo — and once you're baking to temperature instead of to the clock, the fall slump turns into some of the best, tangiest loaves you'll make all year.
As an Amazon Associate we earn from qualifying purchases. This article contains affiliate links; if you buy through them we may earn a small commission at no additional cost to you.