
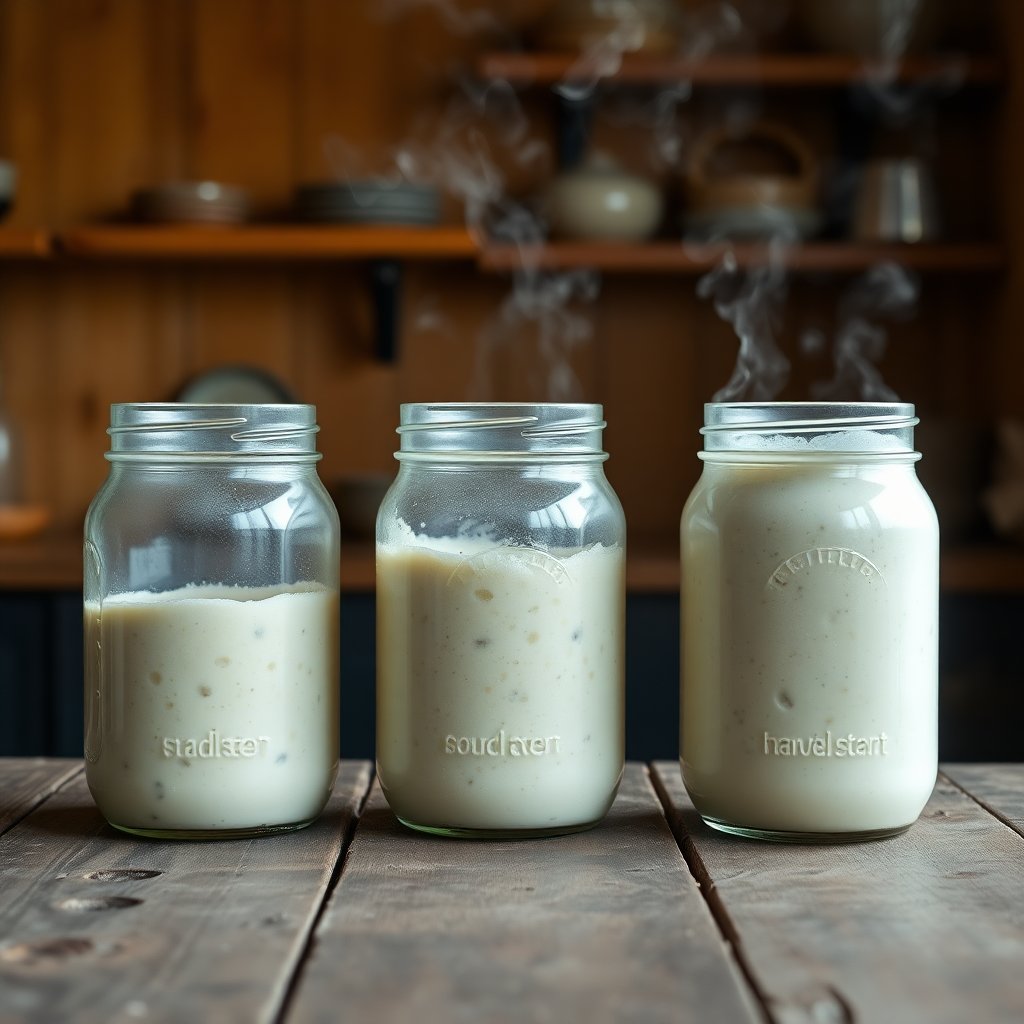
Nothing anchors a holiday table like a basket of soft, pull-apart rolls, still warm enough to melt a pat of butter. The problem is timing. Between the turkey, the sides, and a kitchen full of people, the last thing you want is a dough that demands attention at the exact moment everything else needs it too. Sourdough makes this reputation worse than it deserves, because we associate wild yeast with long, unpredictable waits.
Enriched sourdough rolls are actually one of the most forgiving things you can make ahead. The butter, milk, and egg that make them tender also make the dough patient, and a night in the refrigerator does most of the work while you sleep. Plan the schedule once and you can pull a tray of fresh rolls out of the oven twenty minutes before the meal, calm and unhurried. This guide lays out how.
As an Amazon Associate we earn from qualifying purchases. The gear linked below is what I actually reach for when I bake rolls for a crowd.
Why Enriched Dough Is the Make-Ahead Champion
A lean sourdough loaf is all flour, water, salt, and starter, and it lives or dies on precise timing. Enriched dough is different. The fats coat the flour proteins and slow gluten development, which gives you a softer crumb and a wider window of forgiveness. Add the sugar in the recipe and you also give the yeast a little extra fuel, so a cold-retarded dough still wakes up eager the next day.
That combination is exactly what you want for a holiday. According to King Arthur Baking's guide to sourdough dinner rolls, the enriched style produces a fluffy, tender roll that holds its texture well — the kind that survives sitting in a basket through a long meal instead of turning to stone in twenty minutes.
The tradeoff is that fat and sugar slow fermentation, so enriched sourdough takes longer to rise than a lean dough. In a make-ahead plan that is a feature, not a bug. You want a dough that ferments slowly and predictably overnight rather than one that races past its peak while you are basting the turkey.
The Two Make-Ahead Paths
There are two reliable ways to split the work across days, and picking the right one depends on how much oven space and refrigerator room you will have on the big day.
Path one: retard the shaped rolls. This is the simplest. You mix and bulk ferment the dough on day one, shape the rolls into their baking pan, then cover the pan and slide it straight into the fridge overnight. On the day of the meal you pull the pan out, let the rolls finish their rise in a warm spot for a few hours, and bake. The advantage is that the hard work — shaping — is already done. The cost is a full pan taking up fridge space during the busiest storage day of the year.
Path two: retard the bulk dough. Here you mix and let the dough do most of its bulk fermentation, then refrigerate the whole dough in a single covered bowl overnight, which takes far less space than a sheet pan. The next morning you shape the cold dough, give the rolls a warm final proof, and bake. Shaping cold dough is actually easier because it is firm and less sticky. The tradeoff is that you are shaping on the day of the meal, so build in an hour for it.
Both approaches can stretch further than a single night. Bakers routinely hold enriched roll dough in the fridge for two to three days, so if your schedule is chaotic you can mix on a quiet weekend and bake midweek. If you want the full logic behind why cold storage develops flavor and buys you flexibility, our cold fermentation guide walks through what the refrigerator is really doing to the dough.
Building the Dough
Start with a ripe, active starter — enriched dough needs all the leavening power it can get, so feed your starter the night before and use it at its peak. A sluggish starter is the single most common reason make-ahead rolls come out dense.
Mixing enriched dough by hand is possible but genuinely tiring, because butter and egg fight gluten development and you have to knead through it. A stand mixer earns its keep here more than almost anywhere else in sourdough, turning a fifteen-minute arm workout into a hands-off five minutes on medium speed.
→ Shop stand mixers for bread dough on Amazon
Aim for a smooth, elastic dough that passes a rough windowpane test — stretch a piece thin enough to see light through it without tearing. Enriched dough should feel soft and a little tacky but not soupy. If it is slack, hold back a splash of liquid next time; kitchen humidity and flour brand both shift how much your dough drinks.
Getting the dough temperature right matters as much as the mix. Enriched dough ferments best warm, in the mid-70s Fahrenheit, and if your kitchen is cool the dough will crawl. An instant-read thermometer takes the guesswork out of both the dough and the milk you warm for the recipe.
→ Shop instant-read kitchen thermometers on Amazon
Shaping Rolls That Bake Up Even
Uniform rolls are what separate a bakery-looking pan from a lumpy one, and the trick is consistent weight. Divide the dough with a bench knife and, if you want them truly even, weigh each piece on a kitchen scale — most dinner rolls land somewhere around two to two and a half ounces each.
To shape, flatten each piece gently, fold the edges into the center to build surface tension, then flip it seam-side down and roll it under a cupped hand against the counter until it tightens into a smooth ball. That surface tension is what gives you a high, round roll instead of a flat one. If your rounds keep slackening or tearing, our complete guide to sourdough shaping breaks down how to build and keep tension in soft doughs.
Arrange the shaped rolls in a pan so they just touch — as they proof and bake they knit together into that classic tear-and-share pan. A metal baking pan gives you the browning and even heat you want; a quarter-sheet or a 9-by-13 pan both work depending on batch size.
→ Shop metal baking pans for rolls on Amazon
Timing the Bake Backward From Dinner
Here is where make-ahead planning pays off. Work backward from the moment you want rolls on the table.
- Roughly 3 to 4 hours before dinner: pull the cold pan (or cold dough) from the fridge. Cold dough proofs slowly at first, so give it time to shake off the chill and warm up.
- The warm proof: let the rolls rise in a warm spot until puffy and nearly touching, jiggly when you nudge the pan. In a 70°F kitchen this often runs 3 to 4 hours; warmer and it speeds up. Poke a roll gently — the dent should spring back slowly, not instantly.
- About 25 minutes before serving: bake at 375°F until deep golden, usually 20 to 25 minutes. Brush with melted butter the moment they come out for shine and softness.
The single most common mistake is underproofing, because holiday impatience tempts you to bake while the rolls still look tight. Cold dough needs longer than you think to fully proof, so trust the poke test over the clock. If the kitchen is chilly, set the pan somewhere gently warm — the top of the running oven is ideal on a cooking-heavy day.
Timing enriched dough is a real skill, and the food scientists at Serious Eats have a thorough breakdown of why proof and bake temperature drive the softness of a dinner roll, which is worth reading if you want to understand the levers rather than just follow steps.
Rolls You Bake Even Earlier
If even a morning-of proof feels like too much, you have two deeper make-ahead options.
Freeze shaped, unbaked rolls. Shape the rolls, freeze them solid on a tray, then bag them. On the day, arrange the frozen rolls in a buttered pan and let them thaw and proof — this takes most of a day, so it is a plan-the-night-before move, not a same-morning one.
Bake fully and reheat. Bake the rolls completely a day or two ahead, cool, and store airtight. A quick warm-up in a 300°F oven brings back most of that fresh-baked softness. This is the least stressful option of all, and enriched rolls reheat far better than lean bread does. For keeping them at their best in the meantime, our notes on how to store sourdough bread apply directly — airtight and room temperature, never the fridge, which stales bread fast.
A Simple Holiday Roll Timeline
To pull it all together, here is a plan that has never let me down:
- Two nights before: feed the starter so it peaks in time.
- The night before: mix and bulk ferment, then either shape into a pan or retard the bulk dough in the fridge.
- Morning of: pull from the fridge, shape if needed, and start the warm proof with plenty of buffer.
- 25 minutes before dinner: bake, brush with butter, and carry a warm basket to the table.
The beauty of this approach is that every fussy step happens on your schedule, not the meal's. Enriched sourdough is patient enough to wait in the cold, and a slow overnight rise deepens the flavor in a way a rushed same-day batch never matches. Do the work while the house is quiet, and let the oven handle the grand finale while everyone gathers.
Warm rolls make a table feel like a holiday. With a little backward planning, they can also be the easiest thing you make all day.
As an Amazon Associate we earn from qualifying purchases. This article contains affiliate links; if you buy through them we may earn a small commission at no additional cost to you.